 Integrated Subjects:
 Math, Language Arts, Dance, Art, Computers/ Digital Technology
Overview:This was an exciting way to introduce many math concepts through dance. I used the Dancing Geometry lesson from LTTA and was thrilled at the results. We started by listening to various types of music (Spanish, Folk, Classical...) and discussed the feelings that each one gave us. We discussed the instruments we heard and what culture used each. We read and looked at pictures of different types of dance in diffe
rent cultures (Jazz, Swing, African, North American, Indian, Japannese...) and then we tried mov
ing our bodies to the different types of music. We then explored how we can move forward, backwards, sideways to the music and then explored how we can move these directions at various levels (low, medium, high).
We then discussed ways we can pose - beside, infront, behind, uner and over. Students were placed in pairs to create these different poses with their partner.
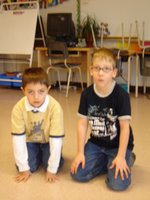
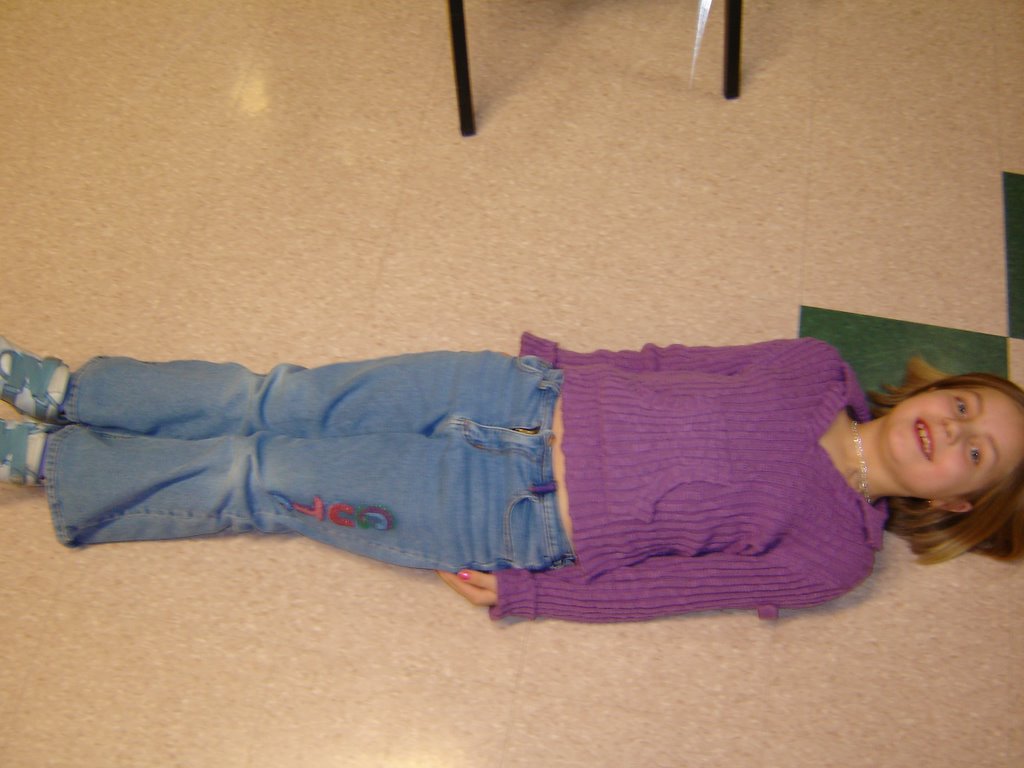
The next day, students were introduced to the terms symmetrical and asymmetrical. We watched the brief clip on the LTTA page and then I posed in different poses until they could identify it as symmetrial or asymmetrical. Students were encouraged to make individual symmetry poses and later made symmetry poses with a partner. We presented our poses to our Kindergarten reading buddies and then tried to teach our buddies the different poses we had learned.
To reinforce the concept of symmetry, I taught students how to use a digitial camera and explored what makes a good picture. Student pairs then took the digital cameras throughout the school (scarey!) and took photographs of symmetrical and asymmetrical things they could find. Later, the pictures were printed and used as part of their writing entry.
After printing the pictures, students worked with their partner to reflect on their learning. They were to explain their poses and everything they knew about symmetry. I typed up their entries and placed them with their pictures.
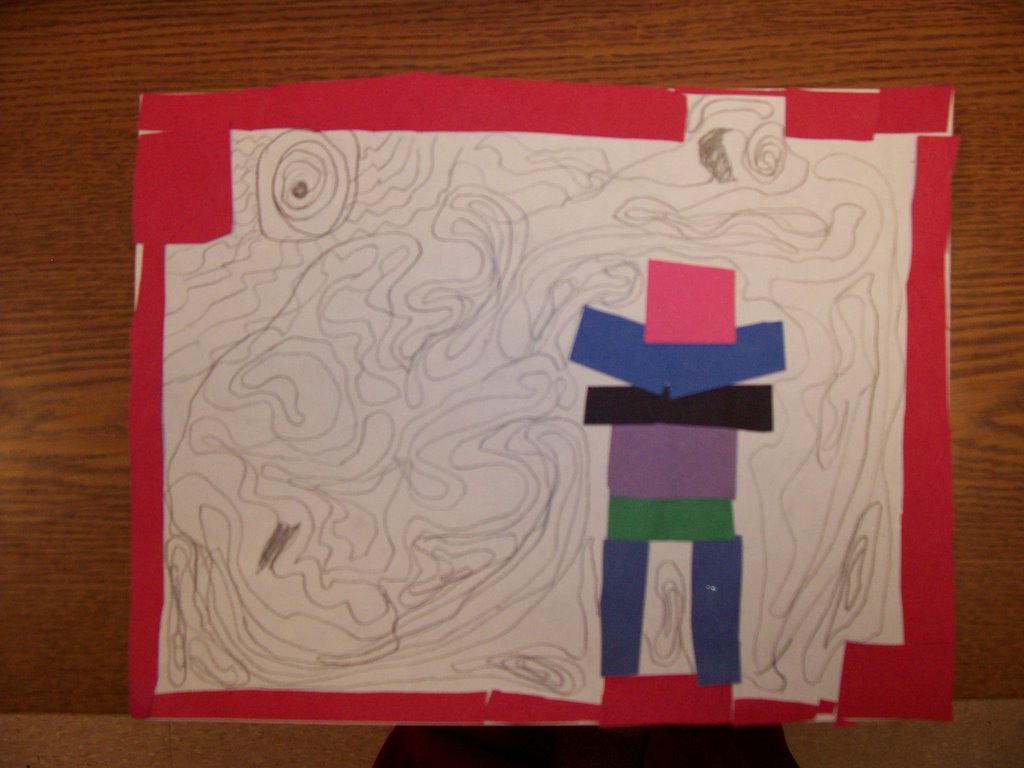
In computers, we had been working in Microsoft Publisher and learning how to insert autoshapes. Students were given the challenge to create a symmetrical and asymmetrical design using autoshapes! The results really showed their understanding of symmetrical and asymmet
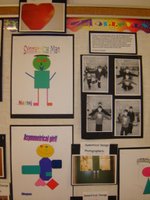
rical shapes!
Sample write-upDo you know what symmetrical is? It means that your whole body is the same on both sides. In the first picture, we are doing a symmetrical pose. It is symmetrical because we are doing the same thing. In the second picture we are doing an asymmetrical pose. It is asymmetrical because we're not doing the same thing. In the third picture, we are doing an asymmetrical pose. It is asymmetrical because if you cut us in half, it wouldn't be the same on each side.By: William and partner

 ions they may want to answer when researching about their animal. After much sampling, students were able to use books to research their animals. They then took their information and put them into good sentences that included questions, exciting statements and "boring" statements (all of which is part of our writing/ reading program based on Smart Start by Joanne Moore).
 introduced to Microsoft Powerpoint, in which they created a slide with their typed information, a picture taken from the internet and some basic animation and design. We compiled our writing into a slideshow and I also printed the slides and created a class book for students to read!
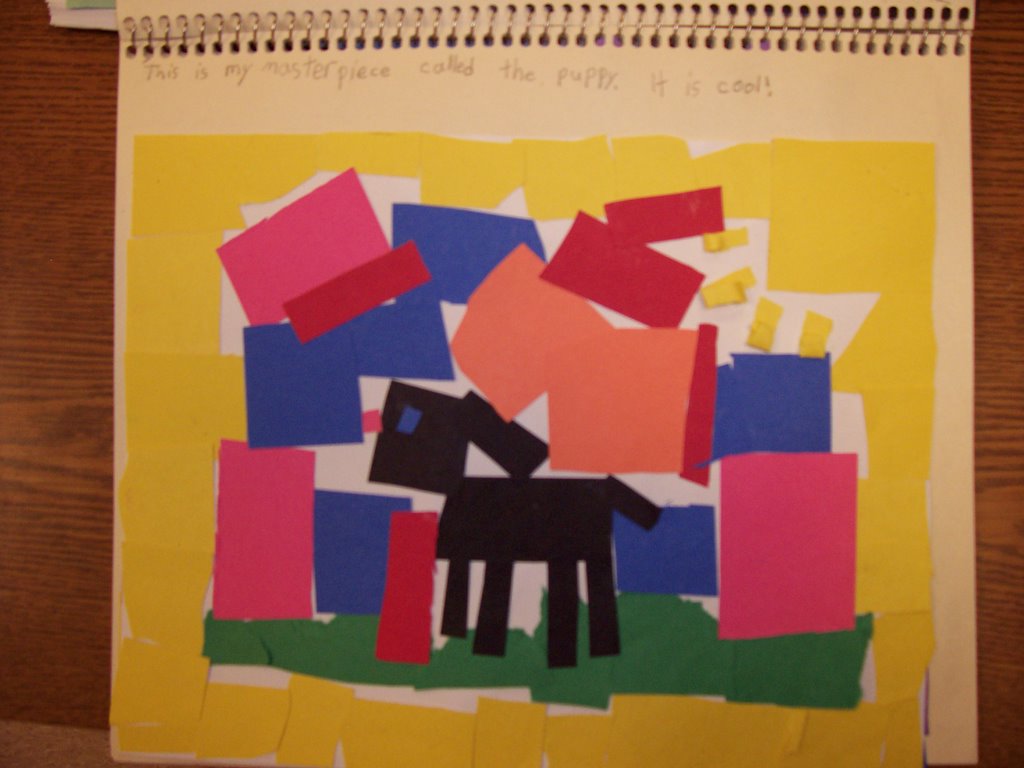
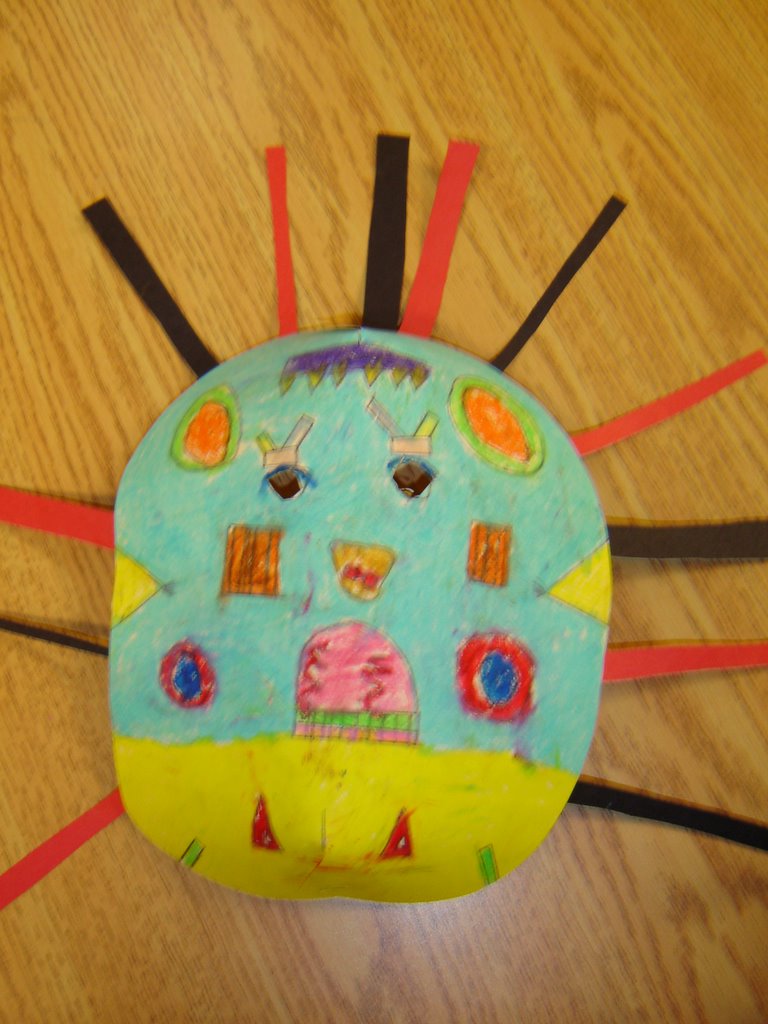
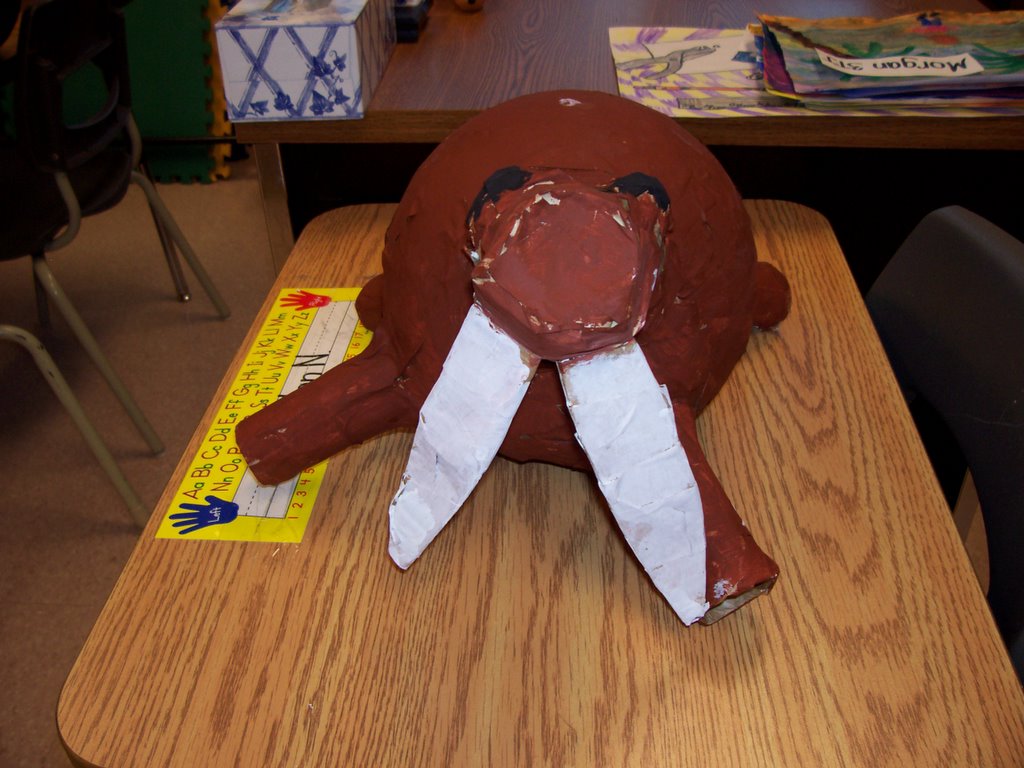 create 3D representations of our animals. We later painted with Tempra paint and added greater deatail to make our animals more realistic!


